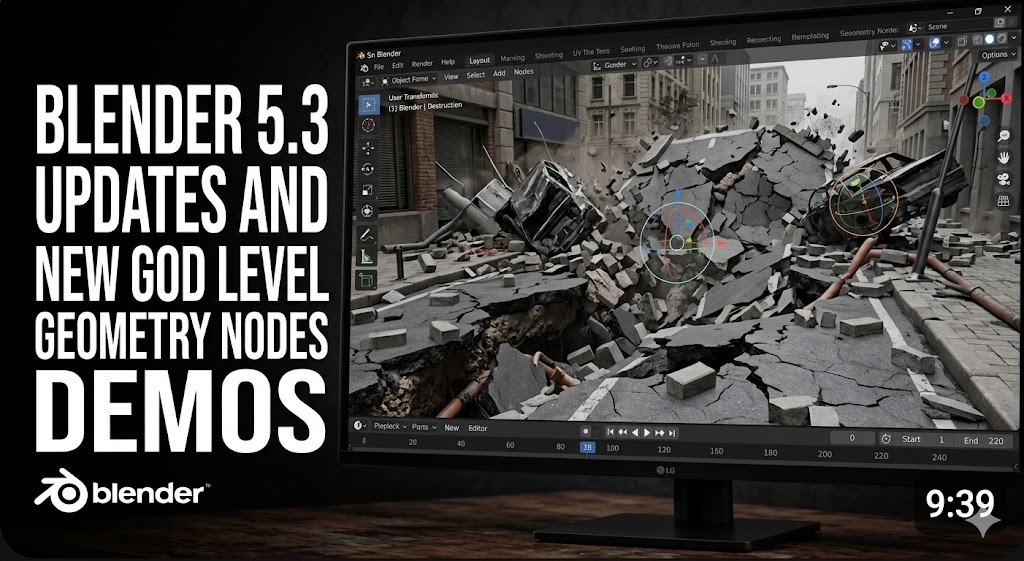


Blender 5.0 just keeps on giving — every time you think you’ve seen it all, another mind-blowing feature or creative use-case shows up. Today we’re diving into some of these new tools by looking at how different artists are pushing them to their limits.
40000 trees with raymatching
Let’s start with Ray Marching. Think of it like using Signed Distance Fields to render geometry — instead of relying on traditional meshes, it calculates surfaces directly in the shader. The results? Absolutely wild.
Here’s Specoolar showing it off by rendering 40,000 trees entirely through Geometry Nodes. Normally, trees are among the heaviest assets you can add to a scene — millions of leaves, tons of geometry, all that overhead. But with ray marching, you can fake that detail right inside the shader. No geometry overload, no lag — just pure procedural magic.
new constraint attribute in geometry nodes
Did you know you can now make rigs using Geometry Nodes? Well, now you do.
Edward’s demo perfectly shows what’s possible — a tail-wagging wall fully animated using the new Constraints attribute. Just think about what that means for hair animation, basic character rigs, cloth, and even tails — all those things that used to need addons or complex setups can now be handled procedurally, right inside Geometry Nodes.
We’re heading toward a future where most rigs won’t rely on the traditional Constraints tab at all, but instead will be built entirely with Geometry Nodes logic. And the best part? This isn’t limited to bones or armatures — you can manipulate any object type directly.
Huge shoutout to Cartesian Caramel, who, according to his tweet, actually contributed this feature. Hats off to you, good fella — this changes everything.
volume grids
Now that Volume Grids are officially a thing in Blender, the possibilities have exploded.
Most people instantly think of smoke, fog, or clouds when they hear “volumes,” but this update goes way beyond that. Volume Grids can now store and manipulate all kinds of data — not just density or color, but spatial information that can drive complex motion and interactions.
Take FaustKeinz’s demo, for example. He’s using the Volume Grid to direct objects around other objects in a super satisfying, fluid way — something that, up until now, was only really possible in Houdini.
This is Blender stepping into a whole new territory of procedural control — and it’s only the beginning.
smoke simulation with geometry nodes
Another great demo comes from Kuldeep, and it shows just how far Volume Grids can go beyond visuals. With this new system, you can actually create custom forces for smoke and other volume-based fluid simulations.
Now, to be clear, there’s no Geometry Nodes-based fluid or smoke simulation yet — at least, not officially. But the groundwork is definitely there. Kuldeep’s demo proves it, showing how you can build a smoke simulation, then add and edit custom forces directly through the Volume Grid.
This is the kind of feature that starts small but changes everything later. Once Geometry Nodes get native fluid and smoke support, tools like these will open the door to fully procedural simulations — controllable, editable, and optimized, all without ever leaving the node tree.
blur textures with repeat zone
The Blender 5.0 update has touched nearly every forgotten corner of Blender — rigging, simulation, shading, you name it. For years, the shader editor hasn’t seen any groundbreaking updates, but that changes now.
Blender 5.0 introduces a boatload of new shader features, and the one that really stands out is the Repeat Zone. At first glance, it might not seem like much, but once you see what people are doing with it, it clicks.
Take Quackers’ demo, for instance — he shows how you can blur any texture by repeatedly passing it through a Closure, Dither Blur, and the Repeat Zone. And yes, those are all brand-new concepts in the Shader Editor.
It’s a massive leap forward for procedural shading — giving artists a whole new layer of control, iteration, and creative experimentation directly inside Blender’s node system.
repeat zones in shaders
Another brilliant use of the Repeat Zone in the Shader Editor comes from Specoolar, who took it to a whole new level. In his demo, he showcases these elegant fractal animations that loop and grow infinitely into mesmerizing swirl patterns.
The possibilities here are insane — these effects can be used for magical visuals, decay growth, or even to drive bump maps for procedural surfaces. This is the kind of creative power that used to keep Cinema 4D sitting comfortably at the top of the motion graphics game.
But not anymore — Blender now has those tools, and even more. With the Repeat Zone and the new shader nodes, Blender’s shader editor isn’t just catching up — it’s redefining what’s possible for procedural motion and design.
black hole raymatching
And as the cherry on top, let’s circle back to Ray Marching — this time combined with the Repeat Zone — to create something truly breathtaking.
We’re talking about a magnificent render of a black hole, fully generated and rendered entirely with shaders. You can fly through it, orbit around it, even dive inside — all in real time. No volumetrics, no particles, just pure shader wizardry.
What’s even crazier? The actual geometry behind it is nothing more than a simple sphere — barely subdivided, at that. Everything else — the warping light, the depth, the distortion — is born from the math inside the shader.
This is the Blender we’ve all been dreaming of — a version where creativity isn’t limited by geometry or modifiers, but powered by the pure logic and beauty of procedural nodes.
raymatching a multiverse
And speaking of dreams, if you’ve ever imagined a multiverse inside Blender, well — Specoolar has already built one.
This demo is absolutely mind-blowing. Using nothing but Ray Marching, he creates an entire portal universe inside a single mesh. You can literally fly in, look around, and explore what feels like a whole new dimension — and yet, there isn’t a single vertex, polygon, or real object in sight.
Everything you see is being generated mathematically, inside the shader itself. It’s not just rendering — it’s simulating reality. This kind of work blurs the line between geometry and illusion, showing how far Blender’s new tools have come.
Truly fascinating stuff — it’s like Blender has evolved from a modeling tool into a universe generator.
tesseract effect ray matching
he’s also got another jaw-dropping example — a full recreation of the Tesseract scene from Interstellar. You know, that surreal library of endless books stretching into infinity? Yeah, that — all built inside Blender, powered entirely by Ray Marching.
You can literally fly through the shelves, look around, and feel that same sense of infinite depth — and the crazy part is, none of it is geometry. No instancing, no arrays, no hidden meshes. It’s all pure shader magic, generated on the fly.
There’s simply no way to achieve something like this without the new Ray Marching feature. It’s one of those moments that makes you stop and realize — Blender isn’t just catching up anymore; it’s stepping into a whole new era of creative possibility.
voxel manipulation
There are also new Voxel Editing nodes coming to Blender — and they’re going to change how we think about modeling altogether. These nodes make it possible to build and edit voxel-based models directly inside Blender, unlocking a whole new workflow for procedural design, simulations, and stylized art.
Thomac Marcos has already shown what’s possible with them, demonstrating how he built his free procedural clouds shader entirely using voxels in Blender 5.0. The results look incredibly natural — soft, volumetric, and lightweight — all achieved without traditional particle or volume simulation tricks.
With these voxel tools, we’re entering a phase where Blender can sculpt, simulate, and render volume-like forms procedurally, giving artists full control down to the smallest cube. This is the kind of feature that blurs the line between shader art, simulation, and modeling — and it’s only getting started.
true sky
And because of all these massive updates, we’re already seeing addon developers jump in to take full advantage of Blender 5.0’s new power.
One great example is True VFX, who just shared an updated demo of True Sky — and it’s looking better than ever. The new version runs faster, looks more accurate, and integrates seamlessly with the latest Blender 5.0 improvements like volume grids and enhanced shading workflows.
It’s exciting to see how both artists and developers are evolving with these tools — pushing Blender into territory we couldn’t have imagined a few years ago.
Anyway, that’s it for today — thanks for watching! Make sure to subscribe if you want to see how these new updates are transforming Blender and how the community is using them to create next-level work.
blender courses:
Blender advanced effects
https://www.udemy.com/course/advanced-effects-in-blender/?couponCode=TOPCHANNEL1ON1
on SuperHiver: https://superhivemarket.com/products/advanced-effects-in-blender?ref=311
Geometry Nodes Course:
https://www.udemy.com/course/mastering-geometry-nodes-in-blender/?couponCode=BESTOFFER
https://superhivemarket.com/products/mastering-geometry-nodes-in-blender?ref=311
on udemy:
Master Geometry nodes 2:
Houdini for blender Artists COURSE: https://www.udemy.com/course/houdini-for-every-artist/?couponCode=TOPCHANNEL1ON1
Blender Vfx Course:
https://www.gamedev.tv/courses/blender4-visual-effects?ref=zgjln2y